Extending C drive of Sitecore Azure VM under 5 minutes using PowerShell

By default Microsoft Azure Windows VM comes with 128 GB (based on the plan you picked for sure), in this blog post I will explain how to increase the C drive of the VM using PowerShell in less than 5 minutes.
1. Install the AZ PowerShell module if it is not installed.
Set-ExecutionPolicy -ExecutionPolicy RemoteSigned -Scope CurrentUser
Install-Module -Name Az -Scope CurrentUser -Repository PSGallery -AllowClobber
2. Connect to the Azure and sign in using PowerShell:
Connect-AzAccount
3. Define the resource group for the VM, VM name, and disk name.
$rgName = '******'
$vmName = '*******'
$diskName = '*******'
4. Allocate the VM from the variables you defined.
$vm = Get-AzVM -ResourceGroupName $rgName -Name $vmName5. Stop the VM, and define the new custom size of the disk (the disk size should be always greater than the current size).
Stop-AzVM -ResourceGroupName $rgName -Name $vmName

$disk= Get-AzDisk -ResourceGroupName $rgName -DiskName $diskName
$disk.DiskSizeGB = 300
5. Last, update the disk size and start the VM.
Update-AzDisk -ResourceGroupName $rgName -Disk $disk -DiskName $disk.Name

Start-AzVM -ResourceGroupName $rgName -Name $vmName
That's it, now we need to Remote into the VM, open Disk Management, and expand the drive using the newly allocated space.
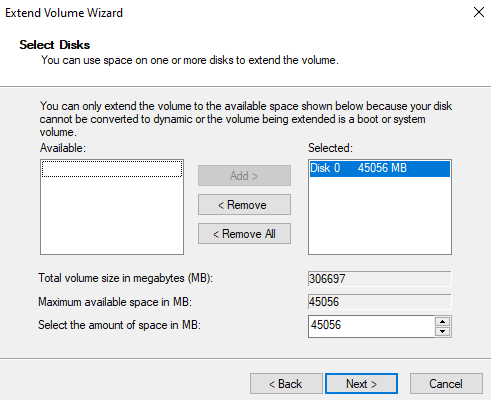
6. Open Disk Management, then right-click on the C drive and select Extend Volume.
7. Select the unallocated space and click on next.
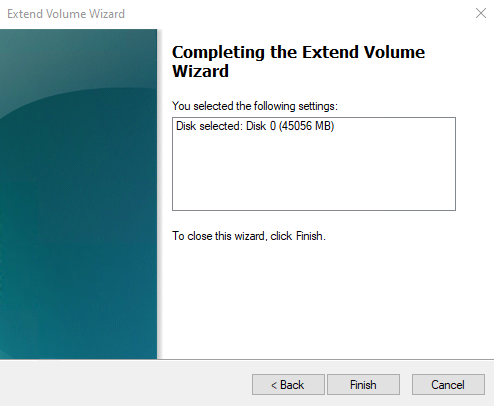
That's all.